- SIP Server address (sometimes called SIP Proxy)
- SIP User ID (the phone number, with 1 in front of the area code)
- The password for the SIP account (a combination of letters and numbers)
To obtain these settings, you must contact Freephoneline and ask for your configuration file. There's a one time charge for this, currently $50 CAD + tax. They will send you a Word document with the settings or enable a new page under your online account.
Connecting the adapter:
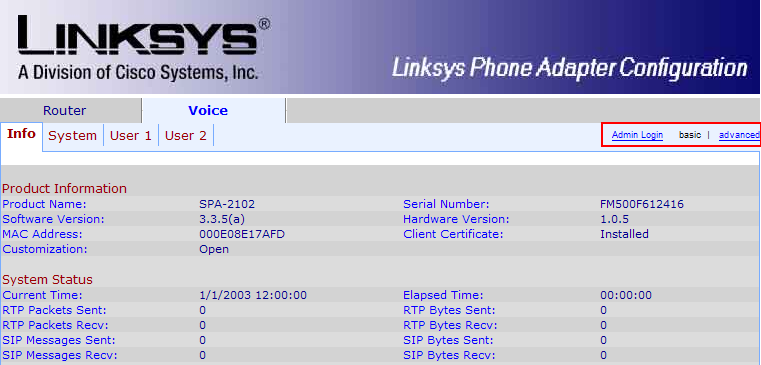
When you access the web interface of the SPA2100/2102, a page similar to this will come up. Enter the Voice settings at the top of the screen:
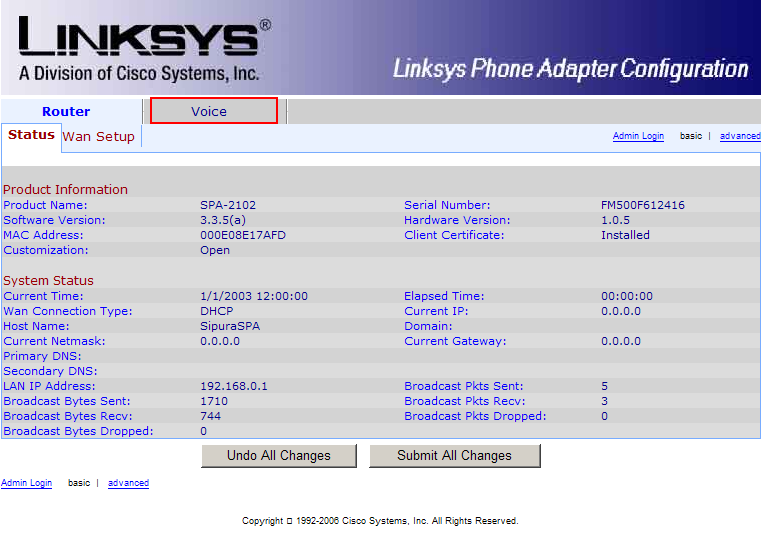
Then click Admin Login and Advanced on the right hand side:
In the end, the tabs available should look like this:
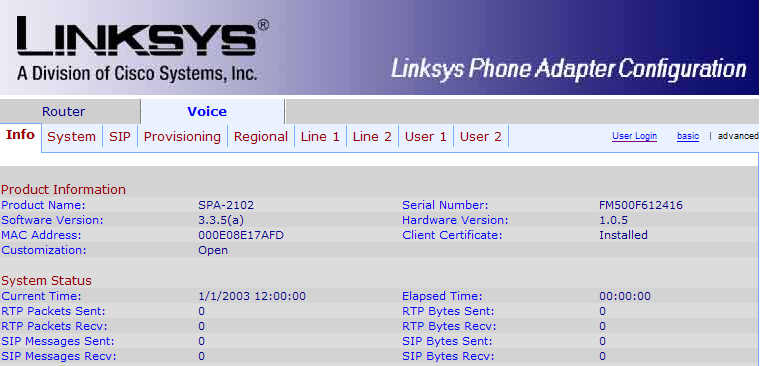
First, we'll adjust some of the SIP parameters, so click the SIP submenu.
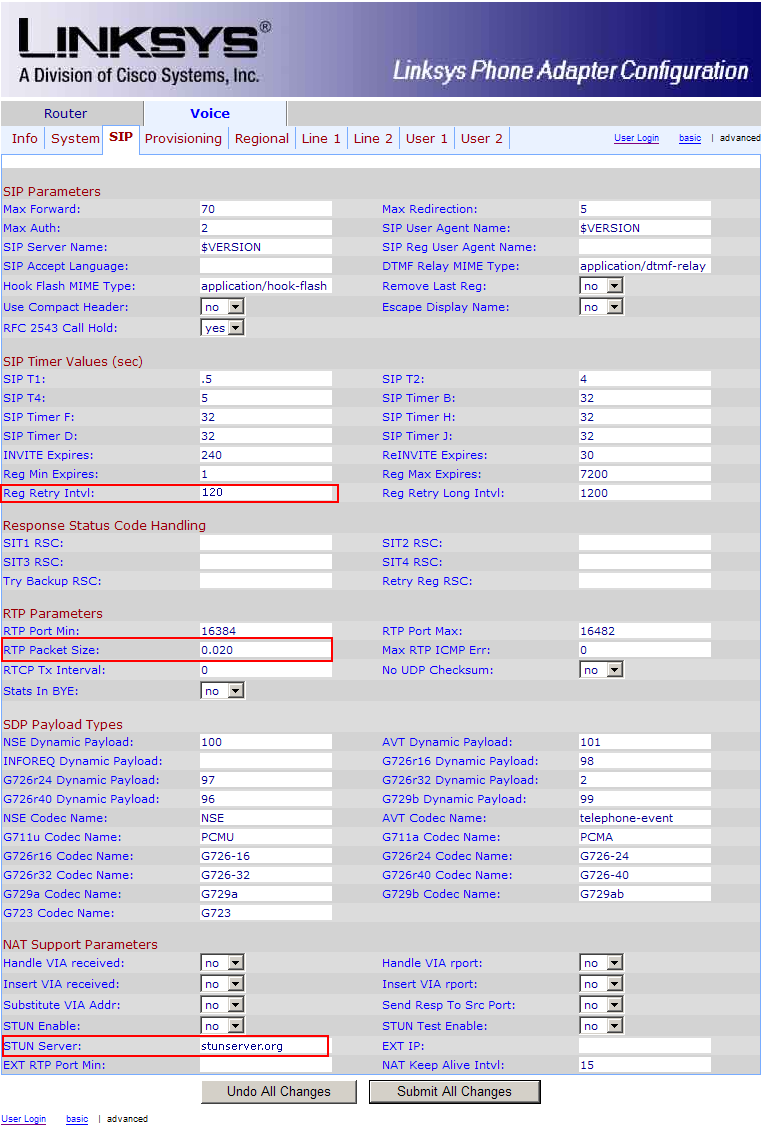
Change the following parameters:
(in the middle of the page)
- Reg Retry Intvl: 120
- RTP Packet Size: 0.020
- STUN Server: stunserver.org
Now click the Line 1 submenu
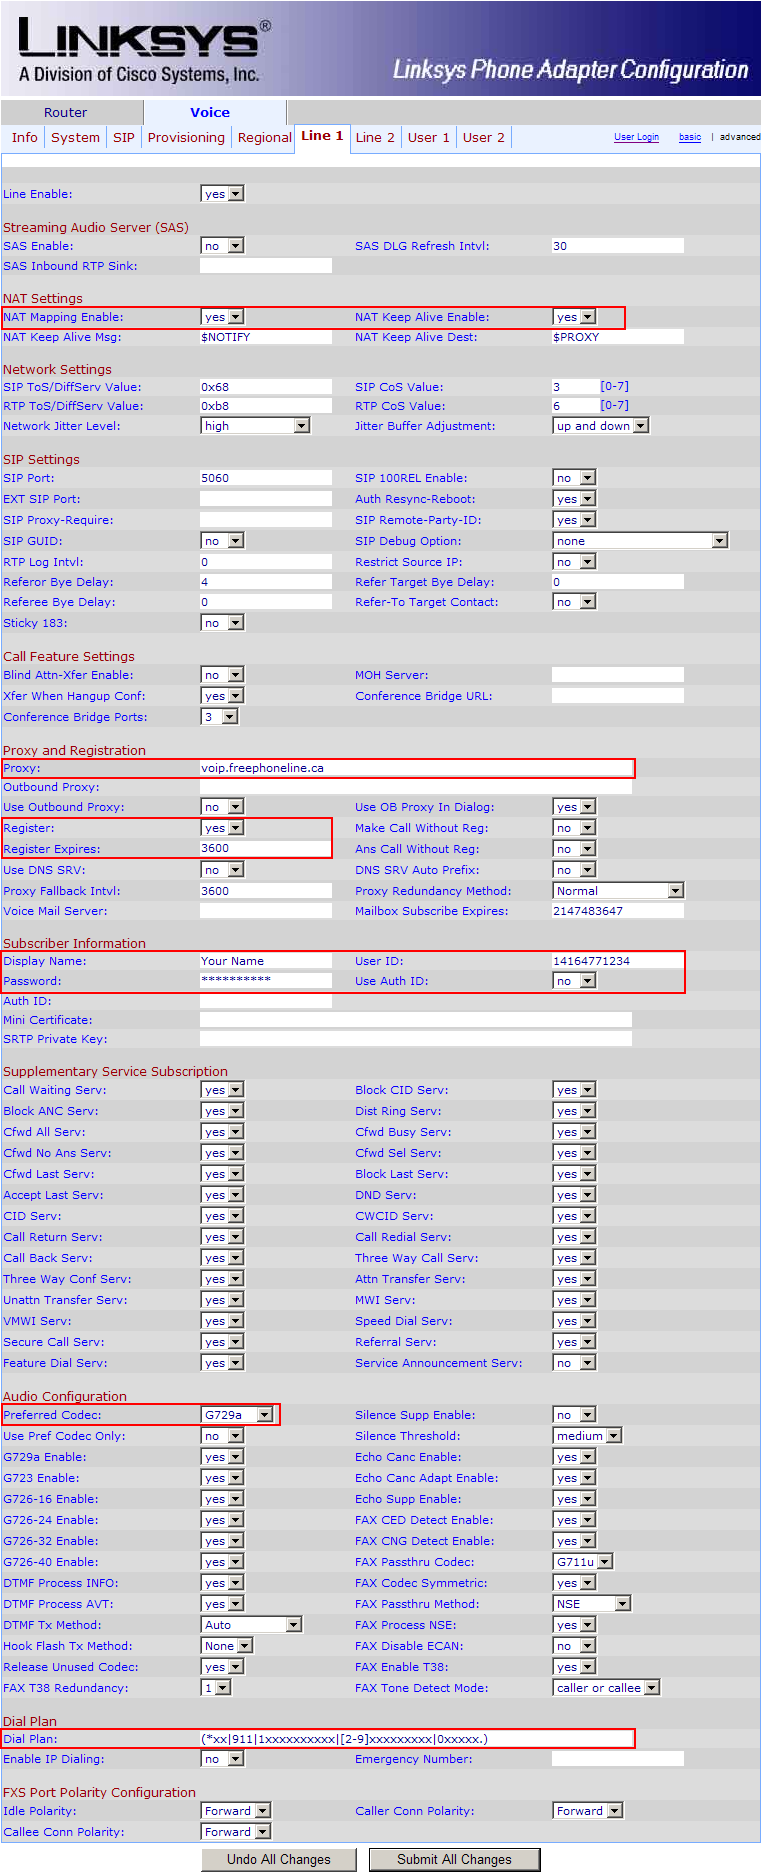
Enter the following settings:
(at the top of the page)
- NAT Mapping Enable: yes
- NAT Keep Alive Enable: yes
(about half way down on the page)
- Proxy: voip.freephoneline.ca
- Register: yes
- Register Expires: 3600
- Display Name: enter your name here
- User ID: your freephoneline phone number, with 1 in front
- Password: the SIP password, from the configuration file received from Freephoneline
- Preferred Codec: G729a
- Dial Plan: use the following string (including parentheses)
(*xx|911|1xxxxxxxxxx|[2-9]xxxxxxxxx|0xxxxx.)
That is all, click Save Settings at the bottom to save all the changes. The adapter will reboot and after 2-3 minutes you should get dial tone and should be able to place and receive calls.